Introduction
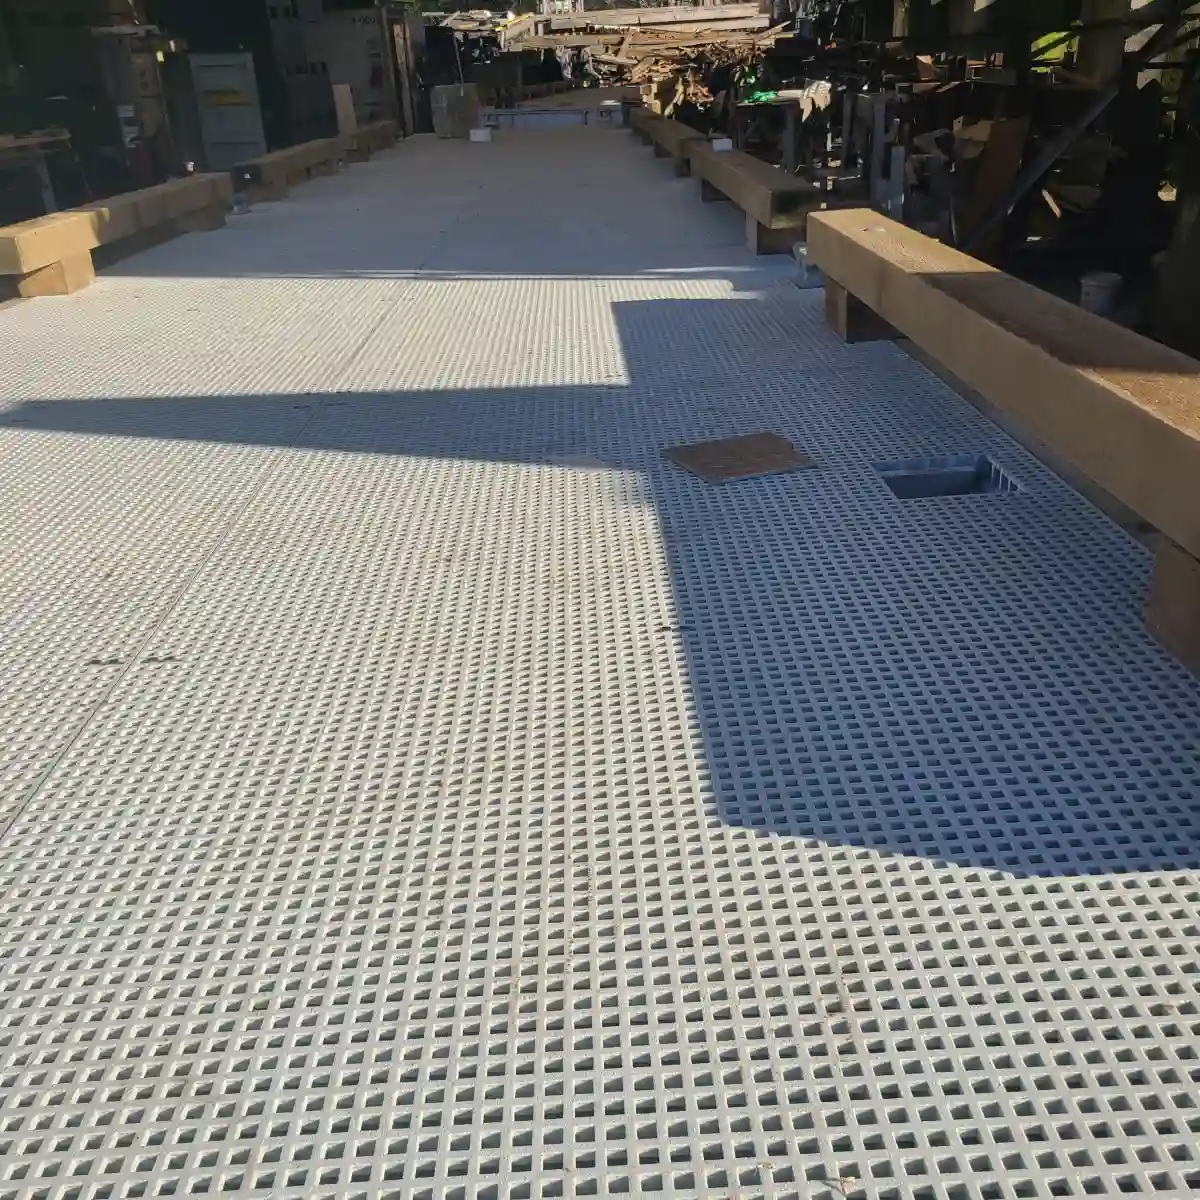
Proper frp grating walkway installation is essential for industrial facilities, commercial buildings, and outdoor platforms that require durable, slip-resistant, and corrosion-proof access paths. Unlike steel or wood walkways that rot, rust, or degrade over time, fiberglass reinforced plastic (FRP) grating offers a lightweight yet incredibly strong alternative that can last for decades with minimal maintenance. An industrial frp grating walkway demands careful planning to ensure it meets safety standards and load requirements.
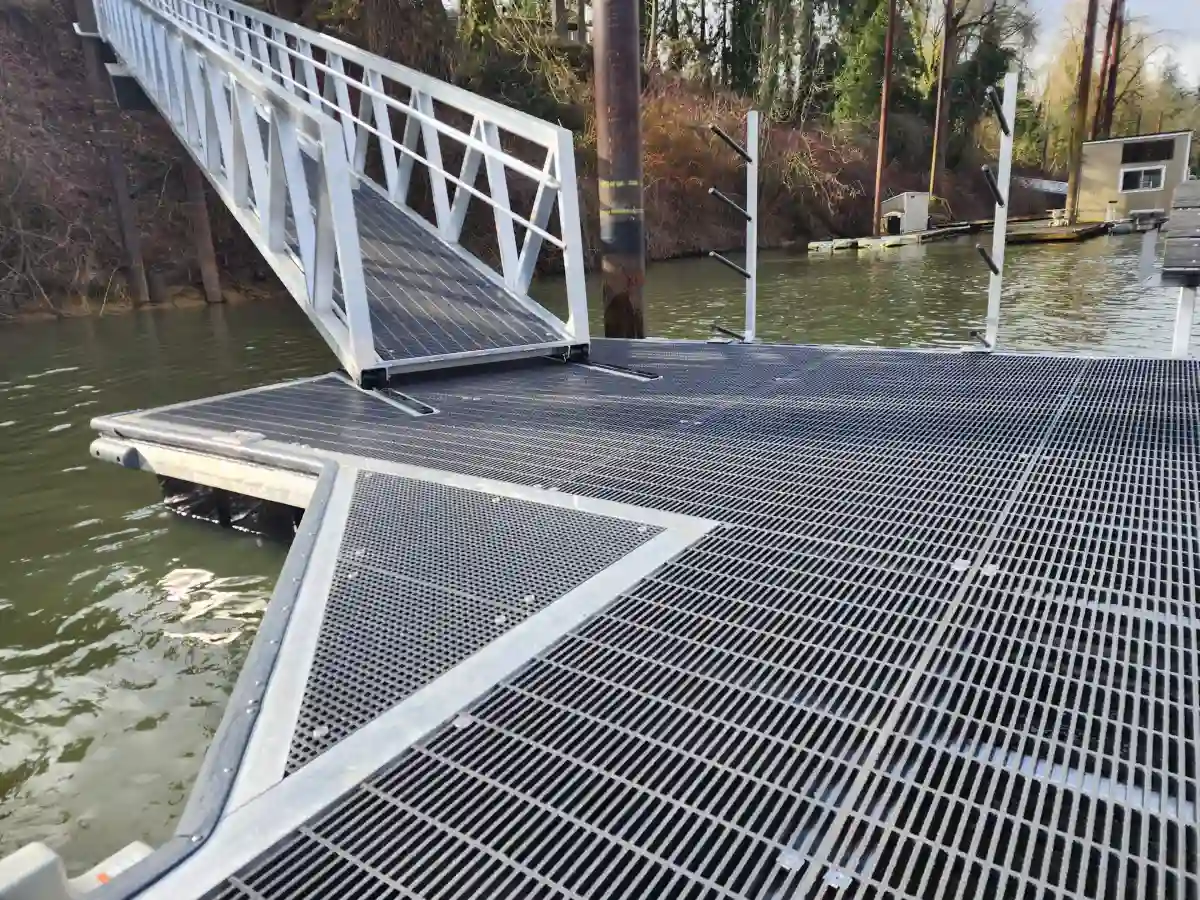
Whether you are planning a pedestrian walkway on an offshore oil platform, a maintenance access route in a chemical plant, or a safe passage over drainage trenches in a wastewater facility, understanding the proper frp grating walkway installation process is essential to achieving maximum safety, longevity, and cost efficiency. This step-by-step guide walks you through everything you need to know — from selecting the right materials to avoiding common installation mistakes.
This guide is designed for both first-time installers and experienced contractors. A proper frp grating walkway installation can be completed with standard tools and careful planning, saving your facility thousands in replacement costs compared to traditional grating materials.
What Is FRP Grating Walkway Installation?
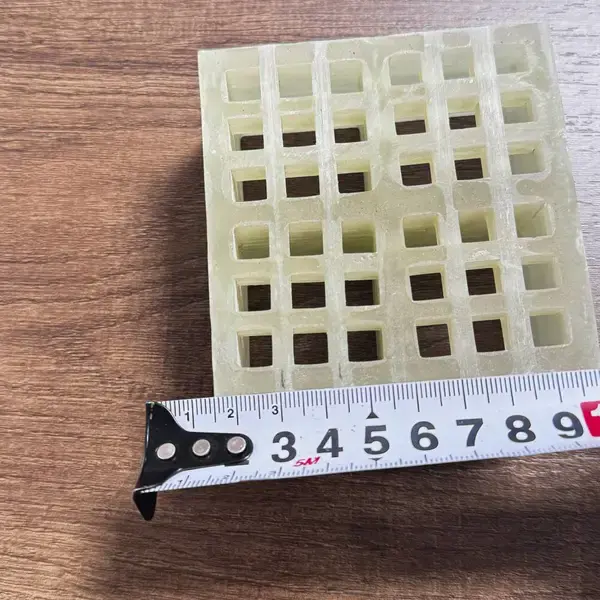
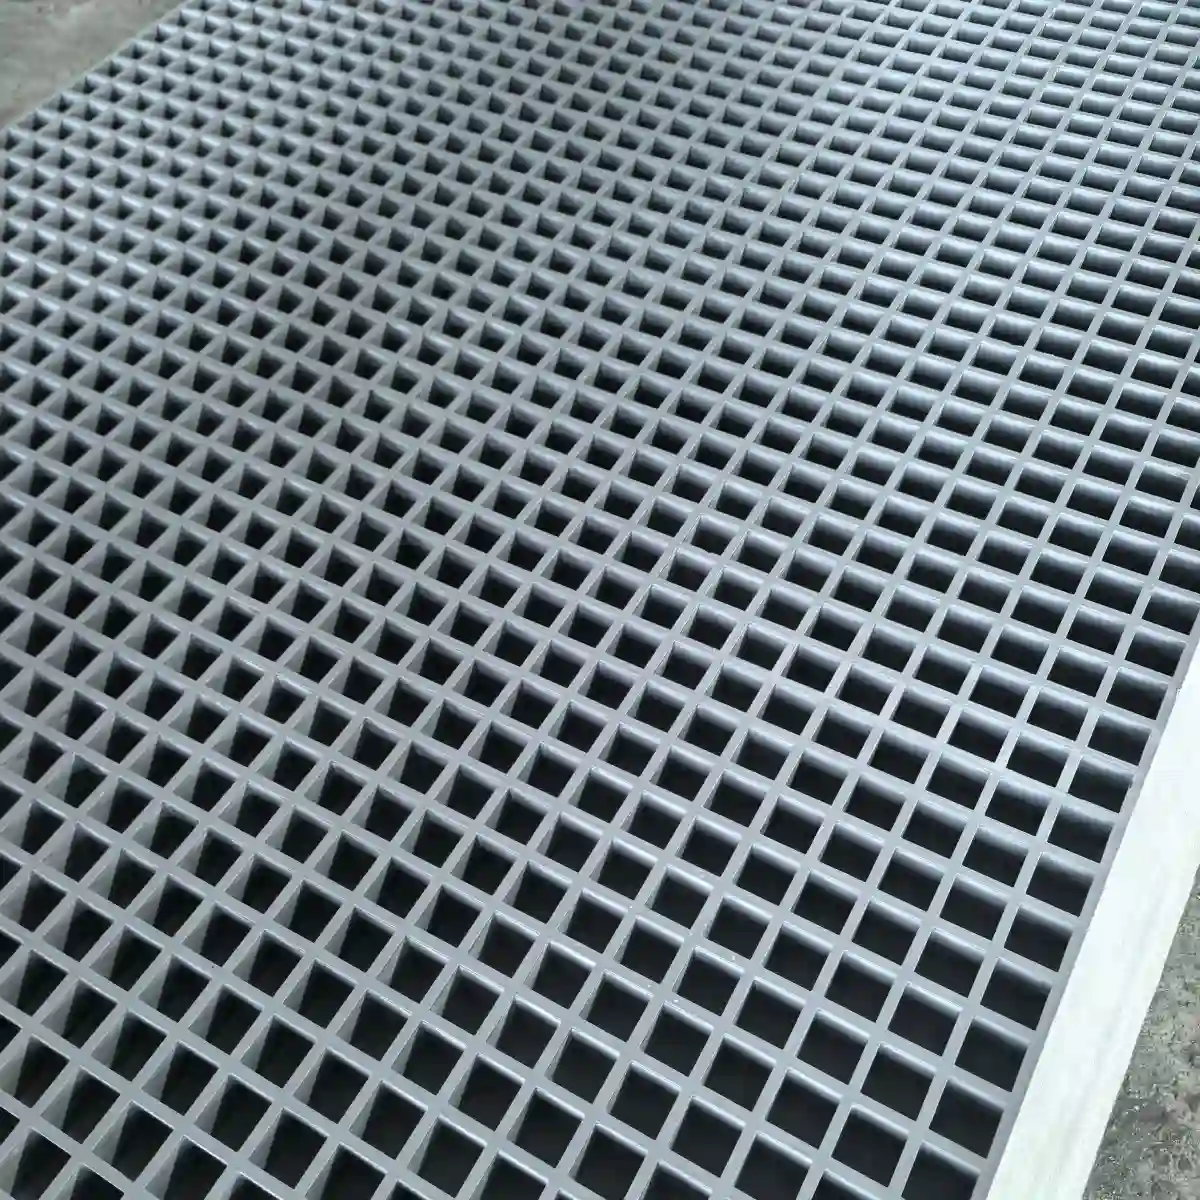
FRP grating walkway installation refers to the process of fitting and securing fiberglass reinforced plastic grating panels onto a support structure to create a safe, durable walking surface. Unlike pouring concrete or welding steel grating, FRP walkway installation involves cutting lightweight composite panels, fastening them with specialized clips or hold-downs, and optionally adding surface treatments for slip resistance.
The core advantage of FRP grating lies in its material composition. The fiberglass reinforcement provides exceptional strength-to-weight ratio, while the resin matrix — typically polyester, vinyl ester, or phenolic — delivers superior corrosion resistance. This makes FRP grating especially suitable for harsh environments where traditional materials fail quickly.
Understanding the Basics
Before beginning your frp grating walkway installation, it is important to understand the basic components involved:
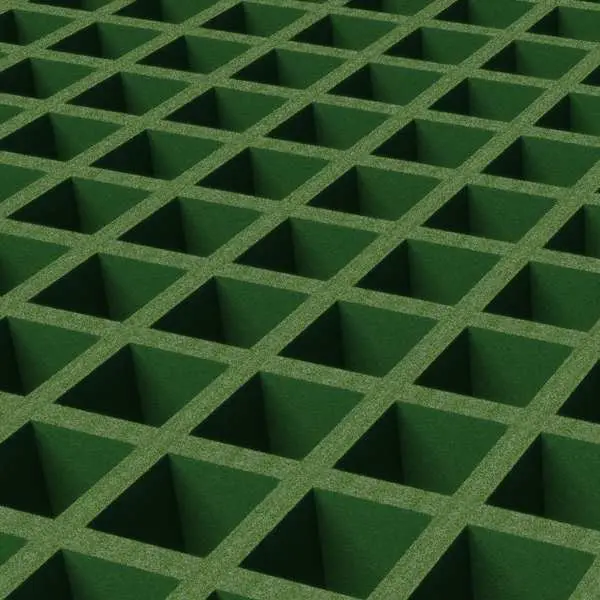
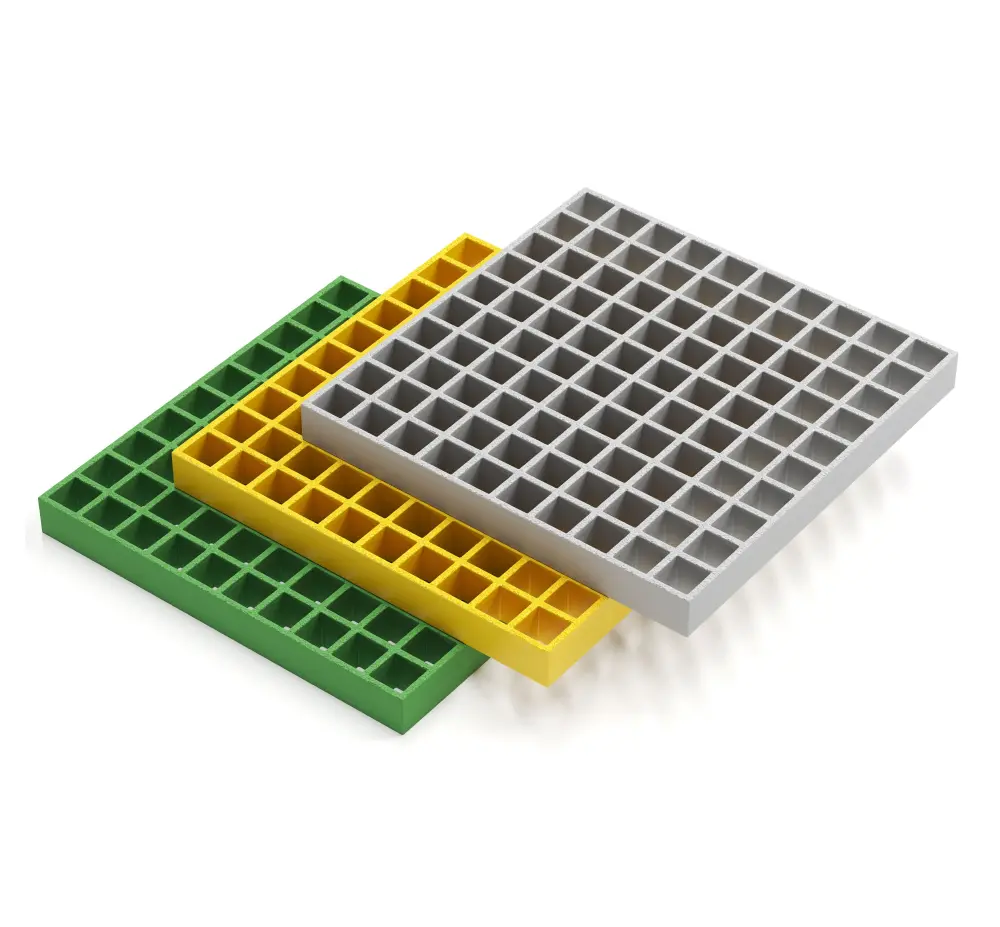
- FRP Grating Panels — Available in molded or pultruded styles. Molded grating has a bidirectional strength pattern and is ideal for general walkways, while pultruded grating offers higher unidirectional strength for longer spans.
- Support Structure — Typically steel or FRP beams spaced according to load requirements. The support frame must be level and properly aligned before installation begins.
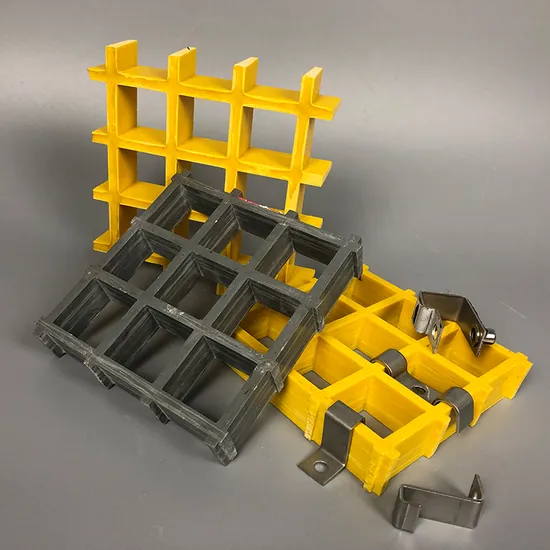
- Fastening System — Includes clips, saddle clips, or countersunk screws that secure the grating to the support structure without damaging the composite material.
- Surface Finish — Many walkway panels come with grit-embedded top surfaces (anti slip frp grating walkway) or can be treated with slip-resistant coatings after installation.
These components work together to create a walkway that can safely support pedestrian traffic, equipment loads, and exposure to chemicals, UV radiation, and moisture.
Tools and Materials Needed for Installation
A successful frp grating walkway installation requires the right set of tools and materials. The good news is that FRP grating is easy to cut and handle with standard construction tools — no specialized heavy machinery is needed. Here is a comprehensive list:
Essential Tools
| Tool | Purpose |
|---|---|
| Circular saw with carbide-tipped blade | Cutting FRP panels to size |
| Jigsaw or angle grinder | Cutting curves or notches around obstacles |
| Drill with carbide or diamond-tipped bits | Drilling holes for fasteners |
| Tape measure and chalk line | Measuring and marking panel positions |
| Torque wrench | Securing clips to correct tightness without over-torquing |
| Safety equipment (gloves, goggles, dust mask) | Protecting against fiberglass dust and sharp edges |
Required Materials
- FRP Grating Panels — Specify the correct thickness, mesh size, and resin type for your load and environmental requirements. For industrial environments, an industrial frp grating walkway grade with heavy-duty bar spacing is recommended.
- Fastening Clips — Choose between G-clips, saddle clips, or bottom-bearing clips depending on your support structure. Stainless steel clips are common for corrosion resistance.
- Bearing Bars or Support Beams — Usually carbon steel, galvanized steel, stainless steel, or FRP structural members.
- Anti-Slip Grit — Pre-applied grit surface or field-applied slip-resistant coating. An anti slip frp grating walkway panel comes with embedded silica or aluminum oxide grit.
- Sealant or Gaskets — Optional but recommended for chemical containment areas.
- Trim or Edge Protection — FRP channel or angle trim to cover cut edges and prevent delamination.
Step-by-Step FRP Grating Walkway Installation Process
Follow this step-by-step process for a professional-grade frp grating walkway installation. These steps apply to both molded and pultruded grating types used in industrial and commercial settings.
Step 1: Preparing the Support Structure
The foundation of any successful walkway installation is a properly prepared support structure. Steel or FRP support beams must be installed level, plumb, and at the correct spacing as specified by the grating manufacturer's load tables. Typical support spacing for pedestrian walkways is 18 to 24 inches on center for molded grating, and up to 36 inches for pultruded grating depending on the load rating. Ensure all bearing surfaces are clean and free of debris, rust scale, or welding splatter. Apply a corrosion-resistant primer on steel supports if the walkway will be installed in a corrosive environment.
Step 2: Measuring and Cutting the Panels
Measure the walkway dimensions carefully and transfer these measurements to the FRP grating panels. Use a circular saw with a fine carbide-tipped blade — 80-tooth or finer — to achieve clean cuts without chipping. Support the panel on both sides of the cut line to prevent vibration and cracking. For notches or cutouts around pipes, columns, or other obstacles, use a jigsaw with a carbide blade or an angle grinder. Always wear a dust mask when cutting fiberglass, as the dust can irritate the skin and respiratory system.
Step 3: Positioning the Panels
Lay the cut panels onto the support structure, leaving a 1/8 to 1/4 inch gap between adjacent panels for thermal expansion and drainage. Check that all panels sit flush on the bearing surfaces with no rocking or gaps. The panel orientation matters — for pultruded grating, ensure the load-bearing bars run perpendicular to the support beams. For molded grating, orientation is less critical due to its bidirectional strength. Panels should overhang the last support by no more than 2 inches unless specified by the manufacturer.
Step 4: Securing with Clips and Fasteners
Secure each panel to the support structure using compatible clips. For steel supports, G-clips or saddle clips are common. For FRP supports, use non-corrosive clips made from similar composite materials or stainless steel. Place clips at every support intersection along the perimeter and at every second or third intersection in the field. Tighten fasteners to the torque specified by the clip manufacturer — typically 15 to 25 ft-lbs. Over-torquing can crack the FRP grating, while under-torquing allows movement and creates a safety hazard.
Step 5: Adding Anti-Slip Features
If the panels are not pre-coated with grit, apply a slip-resistant coating after installation. Clean the surface thoroughly before applying the coating. For areas exposed to oil, grease, or chemicals, choose a coating formulated for those conditions. An anti slip frp grating walkway is essential for worker safety in wet or oily environments. Many industrial facilities require a coefficient of friction of 0.5 or higher for walkway surfaces.
Step 6: Final Inspection
Walk the entire installed walkway to check for any loose panels, sharp edges, or tripping hazards. Verify that all clips are tight, all panels are secure, and the surface is uniformly level. Check that drainage gaps between panels are clear and unobstructed. If cut edges are exposed, consider applying edge sealant or FRP trim to prevent moisture ingress and delamination over time.
FRP Grating Walkway Installation vs Traditional Materials
When planning a walkway, one of the first decisions is which material to use. Here is how frp grating walkway installation compares to installation of traditional grating materials:
| Factor | FRP Grating | Steel Grating | Wood Planks | Concrete |
|---|---|---|---|---|
| Weight | Lightweight (1/4 the weight of steel) | Heavy — requires crane for large panels | Moderate | Very heavy |
| Corrosion Resistance | Excellent — no rust or rot | Poor — requires galvanizing or painting | Poor — rots and warps | Good but can crack and spall |
| Installation Labor | 2-3 workers for moderate spans | 4-5 workers plus heavy equipment | 2-3 workers | Requires formwork, pouring, curing |
| Installation Time | Fast — can be installed in one day | Moderate — welding takes time | Fast | Slow — requires 7+ days curing |
| Cutting & Modification | Easy — standard power tools | Requires plasma cutter or torch | Easy | Impractical once cured |
| Slip Resistance | Excellent with grit surface | Poor when wet; needs serrated bars | Poor when wet | Poor unless textured |
| Maintenance | Minimal — wash occasionally | Ongoing — repaint every 2-3 years | High — replace rotted boards | Repair cracks as needed |
| Lifespan | 20+ years | 10-15 years in corrosive environments | 5-10 years outdoors | 20-30 years but prone to cracks |
For industrial applications where corrosion, weight, and safety are primary concerns, FRP grating walkway installation offers the best balance of performance and cost over the life of the structure. The initial material cost may be higher than wood or basic steel grating, but the savings in installation labor, maintenance, and replacement quickly offset the difference.
Installation on Uneven Ground
One of the most common challenges in field installation is dealing with uneven ground. Traditional materials like concrete require extensive grading and leveling, but FRP grating offers more flexibility for frp grating walkway installation on uneven ground.
Adjustable Support Systems
For walkways across uneven terrain, use adjustable pedestal systems or shimmed supports. FRP grating panels can be installed on adjustable-height pedestals that allow each support point to be leveled individually. This approach is common for rooftop walkways, platform access over sloped ground, and industrial catwalks crossing uneven plant floors. Galvanized or stainless steel shims can also be placed under bearing bars to correct minor height variations.
Panel Flexibility
FRP grating has some inherent flexibility that allows it to conform to slight irregularities in the support surface. Molded grating, in particular, can accommodate small variations without compromising structural integrity. For more significant ground undulations, consider using smaller panel sections, which are easier to fit and level on uneven surfaces.
Grated Trench Covers
When installing FRP grating walkways over drainage channels or trenches on uneven ground, use heavy-duty bearing bars and a greater number of fastening points to distribute loads evenly. The walkway frame should be independently leveled before attaching the grating panels.
Common Mistakes to Avoid
Even experienced installers can make mistakes during frp grating walkway installation. Here are the most common errors to watch out for:
Incorrect Support Spacing
The most frequent mistake is positioning support beams too far apart. Exceeding the manufacturer's recommended support span can cause the grating to deflect excessively under load, leading to cracking or permanent deformation. Always consult the load-span tables for your specific grating type and thickness.
Over-Torquing Fasteners
FRP is a composite material, not metal. Applying too much torque when tightening clips can crush or crack the grating around the fastener hole. Use a torque wrench and follow the manufacturer's specifications — typically 15-25 ft-lbs for most clip types. Never use impact drivers on FRP grating without torque-limiting adapters.
No Expansion Gaps
FRP grating expands and contracts with temperature changes. Installing panels with tight contact against each other or against surrounding structures can cause buckling, warping, or edge damage. Maintain a consistent 1/8 to 1/4 inch gap between panels and between panels and adjacent structures.
Cutting Without Dust Control
Cutting fiberglass generates fine dust that can cause skin and respiratory irritation. Always use dust collection systems or wet cutting methods and require all workers to wear appropriate PPE, including N95 masks and full-coverage clothing.
Using Incompatible Fasteners
Using carbon steel clips or screws on FRP grating in corrosive environments creates galvanic corrosion risks. Always choose stainless steel, hot-dip galvanized, or FRP-compatible fasteners that match the corrosion resistance requirements of your application.
Ignoring Cutting Direction
Cutting against the grain of pultruded grating can cause excessive fraying and delamination. Always cut with the bearing bar direction for pultruded panels and use sharp blades to minimize edge damage.
DIY vs Professional Installation
A common question is whether FRP grating walkway installation is a do-it-yourself project or one that requires professional contractors. The answer depends on the scale and complexity of your project.
When You Can Install It Yourself
Small-scale frp grating walkway installation projects — such as a garden walkway, a short access path over a drainage ditch, or a small mezzanine platform — can be handled by a competent DIYer with basic construction skills. The lightweight nature of FRP grating (typically 3-6 lbs per square foot) means no heavy lifting equipment is needed. If the support structure is already in place and the installation area is easily accessible, a two-person crew can complete a small walkway in a few hours using standard power tools.
When to Hire a Professional
For large industrial projects, elevated walkways, or installations in hazardous environments, hiring a professional contractor with FRP experience is strongly recommended. Consider professional installation when:
- The walkway spans more than 30 feet or is elevated above 6 feet
- The environment involves exposure to strong chemicals, extreme heat, or seismic loads
- Load ratings must meet specific OSHA or building code requirements
- The installation requires custom fabrication, notching, or complex cutouts
- The project timeline is tight and mistakes would be costly
Professional installers bring specialized tools, safety equipment, and experience with load calculations and fastener selection. They also typically offer warranties on their workmanship, providing peace of mind for critical infrastructure projects.
Avoiding Liability Issues
For industrial facilities subject to safety inspections, improper FRP grating walkway installation can create liability exposure. Professional installation ensures compliance with applicable standards such as OSHA 1910 Subpart D for walking-working surfaces and ASTM E84 for fire ratings.
How Long Does Installation Take?
The time required for frp grating walkway installation depends on several variables including the size of the walkway, complexity of the layout, site accessibility, and the experience of the installation crew.
Typical Installation Timelines
| Project Size | Area | Estimated Time (2-person crew) |
|---|---|---|
| Small walkway | 50-100 sq ft | 4-6 hours |
| Medium industrial catwalk | 200-500 sq ft | 1-2 days |
| Large platform system | 1000+ sq ft | 3-5 days |
| Complex installation with cutouts | Any size | Add 30-50% more time |
Factors That Affect Installation Speed
- Panel preparation: Pre-cut panels from the manufacturer can be installed 2-3 times faster than on-site cutting. Ordering panels cut to your exact dimensions significantly reduces installation time.
- Support structure readiness: If the steel or FRP support frame is already in place and level, installation moves quickly. If supports need fabrication or alignment, add 1-2 days.
- Fastening method: Clips are faster than drilling and bolting each connection. G-clips can be installed in seconds per connection point.
- Accessibility: Ground-level installations are fastest. Elevated walkways requiring scaffolding or lift equipment add setup and teardown time.
- Weather conditions: FRP grating can be installed in rain or cold weather (unlike concrete which requires curing conditions), but extreme wind or lightning at elevation will cause delays.
Compared to concrete that requires 7-28 days of curing or steel grating that requires extensive welding and painting, frp grating walkway installation is one of the fastest walkway construction methods available. Many installations are completed and ready for traffic in a single shift.
Cost of FRP Grating Walkway Installation
The cost of frp grating walkway installation varies based on material grade, panel thickness, surface treatment, support structure complexity, and labor rates in your region. Understanding these cost components helps you budget accurately for your project.
Material Cost Breakdown
| Component | Cost Range (per sq ft) | Notes |
|---|---|---|
| FRP grating panels (standard molded) | $18 - $35 | 1.5-inch thickness, polyester resin |
| FRP grating panels (industrial heavy-duty) | $30 - $55 | 2-inch+ thickness, vinyl ester resin |
| FRP grating panels (anti slip frp grating walkway) | $25 - $50 | With embedded grit surface |
| Pultruded grating (high-strength) | $35 - $65 | For long-span applications |
| Fastening clips and hardware | $2 - $8 per clip | Stainless steel or FRP |
| Support structure (steel beams) | $15 - $30 | Per linear foot of beam |
| Edge trim and finishing | $3 - $8 | Per linear foot |
Installation Labor Costs
Professional frp grating walkway installation labor typically ranges from $50 to $100 per hour per worker, depending on your location and the complexity of the work. For a typical 500 sq ft industrial walkway, total installation labor may range from $2,000 to $5,000. For DIY installations, the labor cost is effectively your own time — typically 1-3 days for most projects.
Total Project Cost Estimates
- Small pedestrian walkway (100 sq ft): $2,500 - $5,000 including materials and professional installation
- Industrial catwalk (500 sq ft): $12,000 - $25,000
- Large platform system (1000+ sq ft): $25,000 - $60,000
- DIY installation (100 sq ft, materials only): $1,800 - $3,500
While the upfront cost of FRP grating is higher than basic steel grating ($10-$20 per sq ft for steel), the total cost of ownership over 20 years is significantly lower because FRP requires no painting, rust treatment, or replacement due to corrosion.
Conclusion
FRP grating walkway installation is a straightforward process when you follow the correct procedures — preparing the support structure, measuring and cutting panels accurately, positioning with proper spacing, securing with appropriate clips, and applying anti-slip treatments where needed. The combination of lightweight panels, corrosion resistance, and excellent slip safety makes FRP grating the ideal choice for industrial walkways, platforms, and access paths.
Whether you are a facility manager planning a new catwalk, a contractor bidding on an industrial platform project, or a property owner upgrading an outdoor walkway, this guide provides the foundational knowledge you need to execute a successful installation. Remember these key takeaways:
- Always consult the manufacturer's load-span tables before setting support spacing
- Use carbide or diamond-tipped cutting tools and wear appropriate PPE
- Maintain 1/8 to 1/4 inch gaps for thermal expansion between panels
- Choose an anti slip frp grating walkway for wet or oily environments
- Consider professional installation for large, elevated, or code-critical projects
- Factor in total cost of ownership — not just upfront material costs — when comparing to traditional materials
For more detailed information on specific grating types, load ratings, and customization options, explore our other guides on FRP grating specifications, load tables, and maintenance best practices.