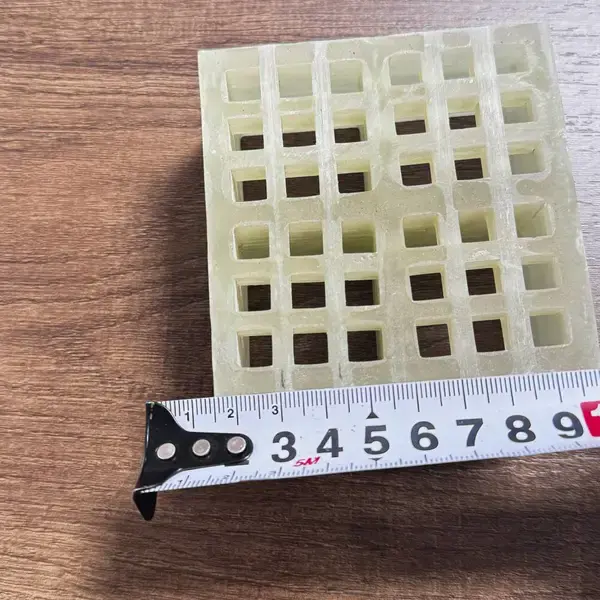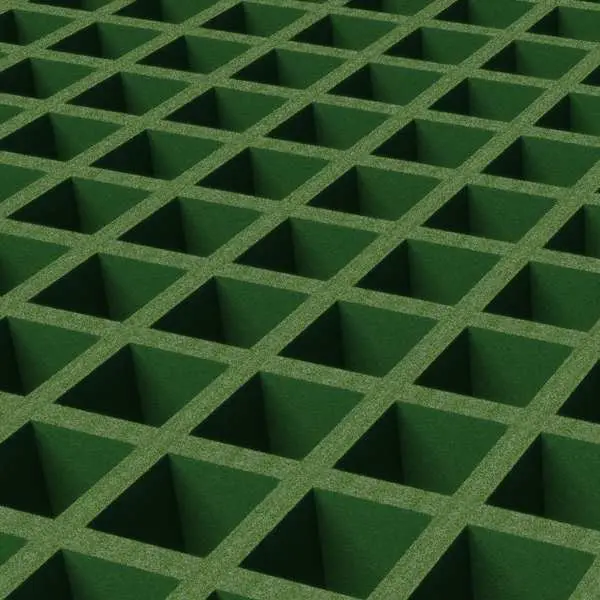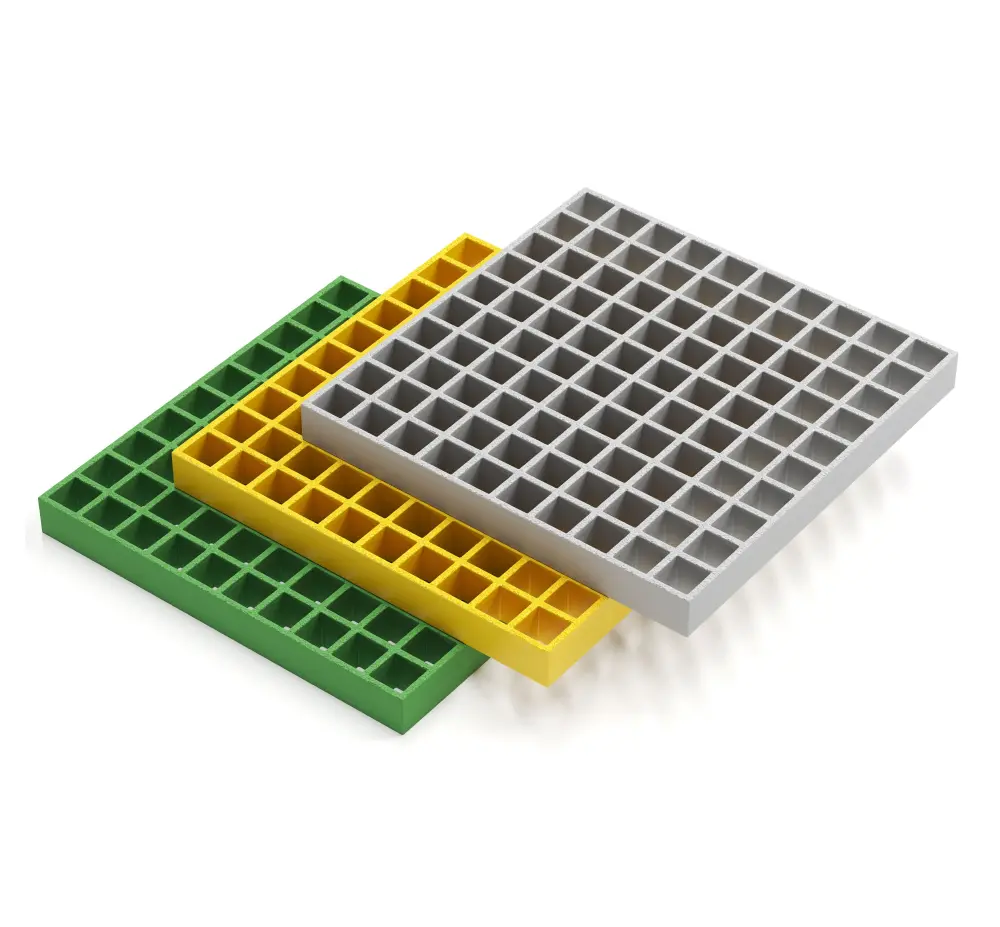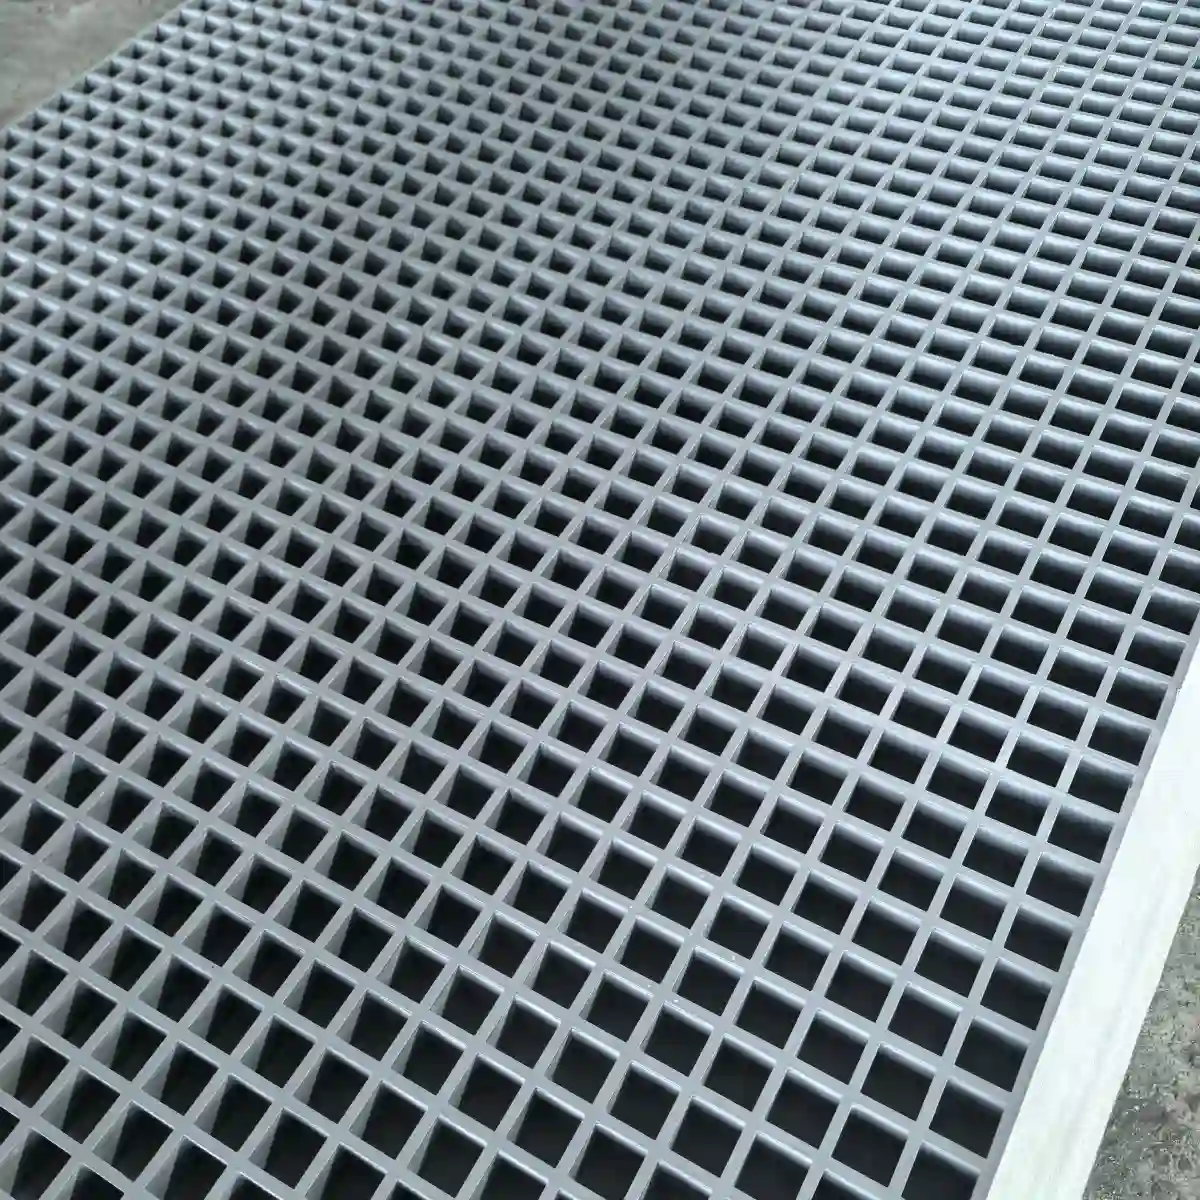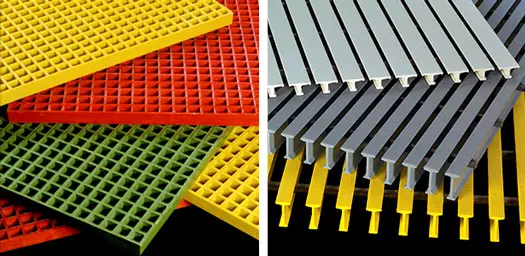
Introduction to FRP Grating Installation
Proper FRP grating installation is critical to ensuring the long-term performance, safety, and durability of your fiberglass reinforced plastic grating system. Whether you are installing it on a steel frame, as a walkway, or directly on the ground, following the correct procedures will prevent costly mistakes and extend the service life of your grating.
This comprehensive step-by-step FRP grating installation guide covers everything you need to know — from the tools required and safety precautions to cutting techniques, frame mounting, and securing methods. By the end of this guide, you will be equipped to handle your fiberglass grating installation project with confidence.
FRP grating is widely used in industrial platforms, catwalks, drainage covers, trench covers, and marine environments because of its corrosion resistance, high strength-to-weight ratio, and slip-resistant surface. However, unlike traditional steel grating, it requires specific handling and installation techniques to achieve optimal results. This guide addresses all seven critical questions about FRP grating installation to ensure you get it right the first time.
What Tools Are Needed for FRP Grating Installation
Before you begin any FRP grating installation, gather the following tools and equipment. Having everything ready beforehand will streamline the process and reduce installation time.
Essential Tools
- Measuring tape — for accurate dimensioning of the installation area
- Circular saw with carbide-tipped blade — for cutting FRP grating to size (a diamond blade is also suitable)
- Drill with carbide-tipped drill bits — for pre-drilling holes for fasteners
- Wrenches and sockets — for tightening bolts and nuts
- Rubber mallet — for gently tapping panels into position without damaging the surface
- Level — to ensure a flat, even installation surface
- Clamps — to hold panels in place during fastening
- Safety glasses and gloves — for personal protection
- Dust mask or respirator — when cutting FRP grating, to avoid inhaling fiberglass dust
Fastening Hardware
- Stainless steel bolts, nuts, and washers — corrosion-resistant fasteners designed for FRP grating
- FRP clip or hold-down clips — purpose-made fastening systems for securing grating panels
- Expansion anchors — for concrete or ground installations
- Rubber or neoprene gaskets — to cushion between the grating and support frame
Using the correct tools is not just about efficiency — it directly affects the quality and safety of your fiberglass grating installation. Standard woodworking tools are generally not suitable because FRP grating is abrasive and will quickly dull standard blades.
Pre-Installation Preparation
Proper preparation is the foundation of a successful FRP grating installation. Rushing this stage often leads to misaligned panels, unstable walkways, or the need for costly rework.
Start by inspecting your grating panels upon delivery. Check for any visible damage, warping, or defects. Confirm that the panel dimensions, thickness, and resin type match your order specifications. Store the panels flat on a clean, dry surface and allow them to acclimate to the installation environment for at least 24 hours before installation. This is particularly important when installing FRP grating in environments with significant temperature variation, as the material will expand and contract slightly.
Next, thoroughly evaluate the support structure. The supporting frame must be level, clean, and free of debris, rust, or sharp edges that could damage the grating. All bearing surfaces should be smooth and provide continuous support along the panel edges. For steel frame installations, ensure all weld spatter and burrs are ground down before setting the grating in place.
Safety Precautions for FRP Grating Installation
Safety should always be your top priority when performing FRP grating installation. Fiberglass grating is made of glass fibers and resin, and cutting or drilling creates fine dust particles that can irritate the skin, eyes, and respiratory system.
- Always wear safety glasses or goggles to protect your eyes from fiberglass dust and debris during cutting and drilling.
- Use a dust mask or NIOSH-approved respirator when cutting FRP grating. The fine fiberglass particles can cause respiratory irritation if inhaled.
- Wear cut-resistant or heavy-duty work gloves to protect your hands from sharp edges. Cut FRP grating often has very sharp edges that can cause splinters.
- Wear long sleeves and pants to minimize skin contact with fiberglass dust, which can cause itching and irritation.
- Ensure adequate ventilation in the work area, especially when cutting indoors or in enclosed spaces.
- Use proper lifting techniques — FRP grating panels can be heavy (especially thicker panels). Use mechanical lifting equipment for large or heavy panels.
- Keep the work area clean and dry to prevent slips, trips, and falls during installation.
- Follow all manufacturer safety guidelines specific to your FRP grating product.
After cutting, clean up all dust and debris promptly. Use a vacuum with a HEPA filter rather than sweeping, which can redistribute dust into the air. Wash exposed skin with cool water and mild soap — avoid hot water, which opens pores and can increase irritation.
Site Preparation and Measurement
Accurate site preparation directly impacts the quality of your fiberglass grating installation. Follow these steps to prepare your installation site properly:
- Measure the installation area multiple times to confirm dimensions. Record the length and width of each opening or frame section.
- Check for level — use a spirit level to verify the support frame is flat and even. An uneven support structure will cause the grating to sit improperly and may create trip hazards.
- Clean the support surface — remove any dirt, grease, oil, rust, or weld spatter from steel frames. Contaminants can prevent the grating from seating properly and may accelerate corrosion of the fastening hardware.
- Determine the bearing width — ensure the support frame provides a minimum bearing surface of at least 25 mm (1 inch) on all sides of each panel.
- Plan the layout — sketch a layout diagram showing panel positions, cutouts, and fastener locations before you start cutting. This minimizes waste and ensures an efficient installation.
- Allow for thermal expansion — FRP grating expands and contracts with temperature changes. Leave a 3–5 mm gap between adjacent panels and between the panel and the frame to accommodate this movement.
Taking the time to prepare properly will save you significant time and frustration during the actual installation. A well-prepared site also produces a cleaner, more professional final result.
How to Cut FRP Grating to Size
Cutting FRP grating to the correct size is a common requirement during FRP grating installation, since panels rarely fit perfectly into every opening without trimming. The good news is that FRP grating can be cut using standard power tools with the right blade.
Recommended Cutting Methods
| Tool | Blade Type | Best For |
|---|---|---|
| Circular saw | Carbide-tipped or diamond abrasive blade | Straight cuts, panel trimming, large panels |
| Jigsaw | Carbide-grit blade | Curved cuts, cutouts for pipes or obstacles |
| Angle grinder | Diamond cutting wheel | Small adjustments, notching corners |
| Band saw | Carbide-tipped blade | Production cutting, multiple panels |
Step-by-Step Cutting Process
- Measure and mark — measure the opening width and subtract 3–5 mm for the expansion gap. Transfer measurements to the grating panel using a marker or chalk line.
- Secure the panel — clamp the grating panel firmly to a workbench or sawhorses to prevent vibration during cutting. Vibration can cause the blade to wander or create rough edges.
- Wear full PPE — put on safety glasses, a dust mask, gloves, and long sleeves before cutting.
- Cut along the marked line — use smooth, steady pressure. Do not force the blade; let the tool do the work. For best results on a circular saw, cut with the finished face of the grating facing up.
- Deburr the edges — after cutting, use a file or sandpaper to smooth any sharp edges or loose fibers. This step is essential for safety and to prevent the edges from catching on clothing or equipment.
If you need to cut multiple identical panels, create a template from the first cut panel and use it as a guide for the remaining panels. This ensures consistent sizing and speeds up the overall fiberglass grating installation process.
How to Install FRP Grating on a Steel Frame
Installing FRP grating on a steel frame is one of the most common applications for this versatile material. The steel frame provides strong, reliable support, and the FRP grating installation process on steel is straightforward when you follow the correct procedure.
Step-by-Step Steel Frame Installation
- Prepare the steel frame — ensure all bearing surfaces are clean, level, and free of sharp edges or weld spatter. Paint or coat the steel frame with a corrosion-resistant finish if it will be exposed to harsh environments.
- Position the first panel — carefully lower the cut FRP grating panel onto the steel frame. Ensure a minimum bearing width of 25 mm on all support surfaces. Leave a 3–5 mm expansion gap between the panel and the frame edge.
- Check for level — use a spirit level to verify the panel sits flat and even on the frame. Shim if necessary using stainless steel or FRP shims — never use wood, which can rot and compromise the installation.
- Pre-drill fastener holes — mark the fastener locations on the grating, then pre-drill holes using a carbide-tipped drill bit. Pre-drilling prevents the grating from cracking or splitting when you install the fasteners. Drill holes 1.5 mm larger than the bolt diameter to allow for thermal expansion.
- Install fasteners — insert stainless steel bolts with washers through the pre-drilled holes and secure them with nuts on the underside of the frame. Use flat washers on both sides of the grating to distribute the clamping force evenly. Tighten fasteners to a snug fit — do not overtighten, as this can crush or damage the FRP material.
- Repeat for remaining panels — continue installing panels one at a time, maintaining consistent gaps between adjacent panels. Stagger the joints between panels when possible to create a more stable walking surface.
- Final inspection — walk across the installed grating to check for any movement, noise, or uneven areas. Tighten any loose fasteners and verify that all panels are secure.
Fastener Spacing Guidelines
- Perimeter fasteners: every 200–300 mm along the panel edges
- Interior fasteners: at each support intersection in the steel frame
- Corner fasteners: always place a fastener within 50 mm of each corner
For frp grating walkway installation on steel frames, pay special attention to the fastener spacing along high-traffic areas. Walkways experience dynamic loads from foot traffic, so additional fasteners may be needed to prevent movement and panel chatter.
Can FRP Grating Be Installed Directly on the Ground
A common question during FRP grating installation is whether the grating can be placed directly on the ground. The short answer is: it depends on the application.
When Ground Installation Is Acceptable
FRP grating can be installed directly on the ground for certain low-traffic, temporary, or non-critical applications such as:
- Temporary walkways over soft or muddy ground at construction sites
- Garden paths or landscape stepping platforms
- Drainage covers over shallow trenches where the ground provides adequate support
- Equipment mats for lightweight machinery in dry environments
When Ground Installation Is NOT Recommended
For most permanent or load-bearing applications, installing FRP grating directly on the ground is not recommended for the following reasons:
- Uneven support — soil and ground surfaces shift, settle, and erode over time, causing the grating to become uneven and creating trip hazards
- Lack of drainage — ground contact traps moisture against the underside of the grating, promoting mold growth and reducing the service life of the resin
- Inadequate load distribution — without a proper support frame, point loads from foot traffic or equipment can crack or break the grating panels
- Pest and vegetation issues — grass, weeds, and insects can grow through or under the grating, causing maintenance problems
Best Practice for Ground Installation
If you must install FRP grating on the ground, always place a layer of compacted gravel (100–150 mm deep) as a base, covered with a geotextile fabric to prevent weed growth. Use concrete or plastic support blocks underneath the panel joints to ensure even support. This approach improves drainage, prevents uneven settling, and extends the life of your fiberglass grating installation.
FRP Grating Walkway Installation Guide
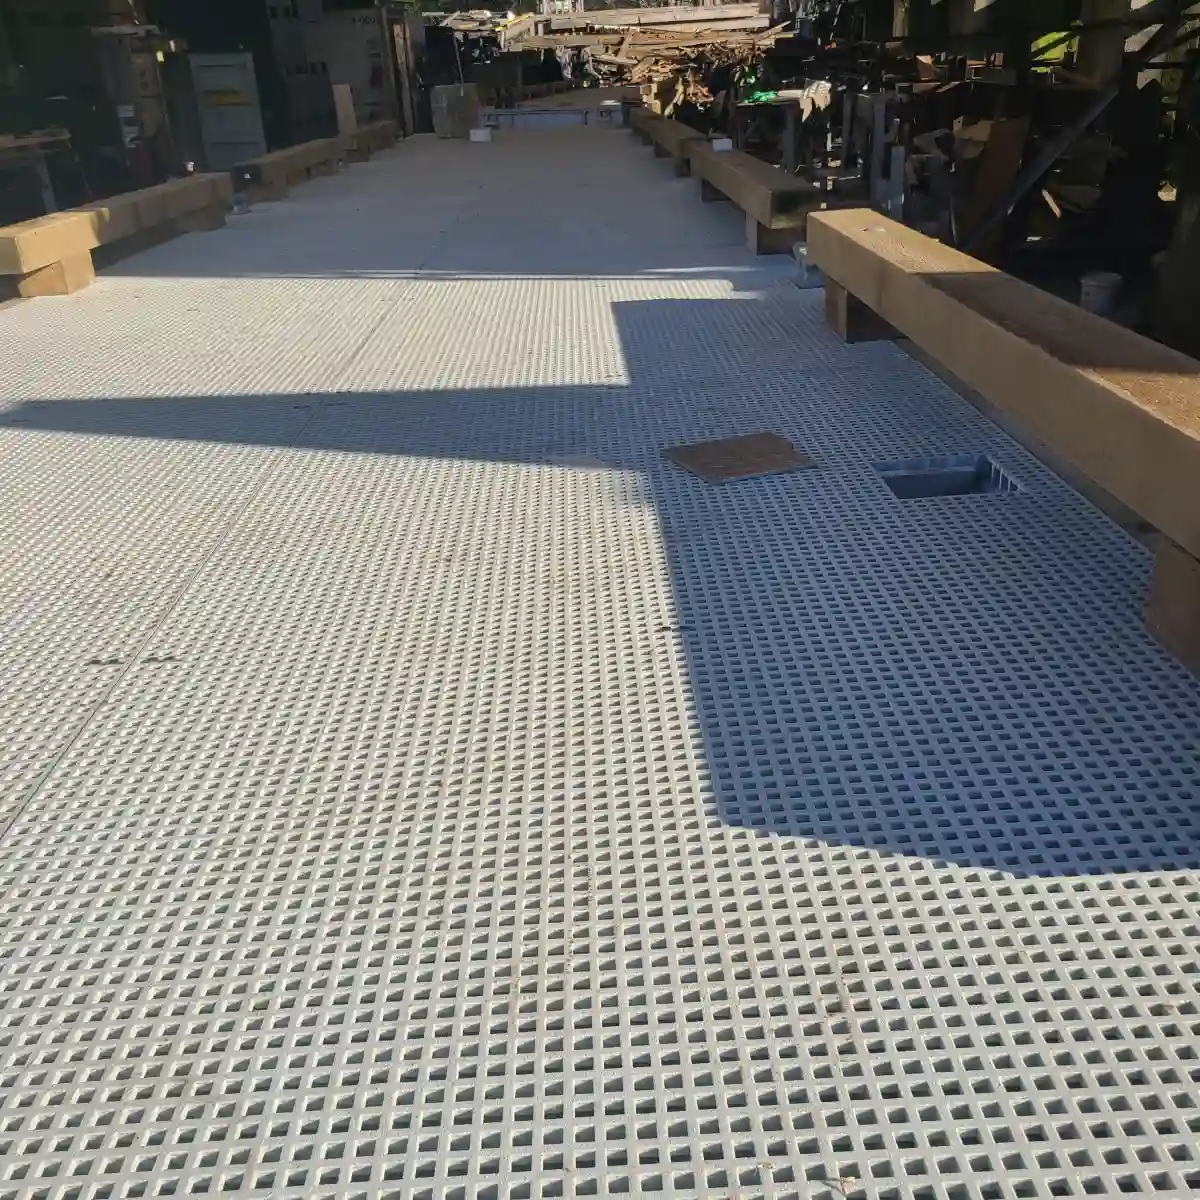
A dedicated frp grating walkway installation requires additional considerations compared to standard platform installations. Walkways are subject to dynamic foot traffic, and safety is paramount, especially when installed at height or over water.
Walkway Design Considerations
- Panel selection — choose grated panels with a slip-resistant surface. Most molded FRP grating panels feature a concave-convex surface pattern that provides excellent traction even when wet.
- Support spacing — the spacing between support beams or joists must match the load rating of the grating. For pedestrian walkways, support spacing of 400–600 mm is typical. Consult the manufacturer load table for your specific panel type.
- Width requirements — for primary walkways, a minimum clear width of 600 mm is recommended. For secondary or access walkways, 450 mm may be sufficient.
Walkway Installation Steps
- Install the support structure — steel or aluminum stringers should be installed with proper slope for drainage (typically 1–2% gradient).
- Position the grating panels — lay the panels across the stringers with the slip-resistant surface facing up. Ensure a minimum bearing width of 25 mm on each support.
- Secure with hold-down clips — use FRP-specific hold-down clips or clamp plates at each support intersection. These clips allow for thermal expansion while keeping the panels firmly in place.
- Install edge trim — for elevated walkways, install FRP edge angle or C-channel trim along the sides to prevent lateral movement and to create a finished appearance.
- Test for stability — walk the full length of the walkway, checking for any panels that shift, squeak, or feel unstable. Adjust fasteners as needed.
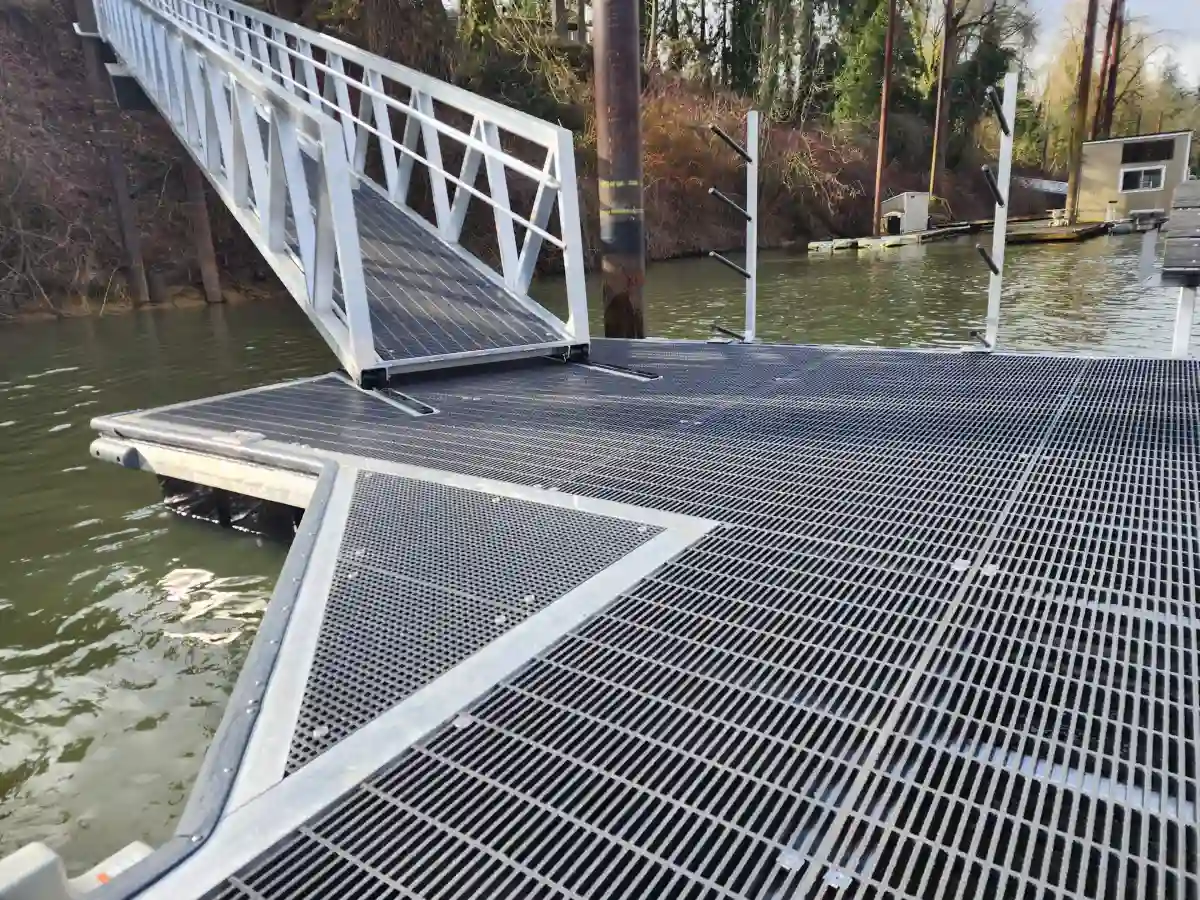
FRP grating walkway installation is often performed in challenging environments like wastewater treatment plants, chemical processing facilities, and marine docks. The corrosion resistance of FRP makes it ideal for these settings, where steel grating would quickly rust and require replacement.
How to Secure FRP Grating to Prevent Movement
Securing FRP grating properly is essential for safety and longevity. Unsecured panels can shift, lift, or create tripping hazards. There are several proven methods for securing FRP grating, and the right choice depends on the application.
Fastening Methods
| Method | Best Application | Pros | Cons |
|---|---|---|---|
| Through-bolting | Steel frames, high-load areas | Strongest hold, very secure | Requires access to both sides |
| Hold-down clips | Walkways, medium-load areas | Easy to install, allows expansion | Less secure than through-bolts |
| Countersunk screws | Light-duty, aesthetic applications | Flush surface, clean appearance | Lower pull-out strength |
| Adhesive bonding | Ground installation, temporary | No holes needed, waterproof | Difficult to remove, permanent |
Best Practices for Securing
- Never over-tighten fasteners — FRP grating can be crushed or damaged by excessive clamping force. Tighten until the washer contacts the grating surface, then add an additional quarter turn.
- Use washers on both sides — flat washers distribute the clamping force and prevent the fastener head or nut from digging into the FRP material.
- Use stainless steel hardware — galvanized or plain steel fasteners will rust and stain the FRP. Stainless steel 304 or 316 is recommended for most environments.
- Allow for thermal movement — do not fix the grating so tightly that it cannot expand and contract. This is especially important for installations with wide temperature fluctuations.
- Check fasteners periodically — re-torque all fasteners after the first week of service, as the grating may settle slightly under load. Annual inspections are recommended thereafter.
For frp grating walkway installation, pay particular attention to securing the first and last panels in the run, as these are most likely to shift under foot traffic. Installing additional fasteners at the ends of the walkway provides extra security.
How Long Does FRP Grating Installation Take
The time required for FRP grating installation varies depending on several factors: the size of the project, the complexity of the layout, the number of cutouts needed, and the experience level of the installation team.
Estimated Installation Times
| Project Type | Area | Estimated Time (2-person crew) |
|---|---|---|
| Small walkway | 10–20 m² | 4–6 hours |
| Medium platform | 20–50 m² | 1–2 days |
| Large industrial deck | 50–200 m² | 2–5 days |
| Trench covers (linear) | 10–30 m | 3–6 hours |
Factors That Affect Installation Time
- Cutting complexity — simple rectangular panels can be cut quickly, but panels requiring multiple cutouts for pipes, columns, or irregular shapes take significantly longer
- Access conditions — ground-level installations are faster than elevated work that requires scaffolding or lifts
- Support frame condition — a pre-existing, level steel frame reduces installation time compared to building a new support structure
- Weather — rain, extreme heat, or cold can slow down installation or require work stoppages
- Fastener type — through-bolting takes longer than using hold-down clips, but provides a more secure installation
- Team experience — an experienced crew can complete fiberglass grating installation 30–50% faster than a team installing FRP grating for the first time
Most DIY or first-time installers should budget approximately twice the estimated professional installation time. As with any construction task, rushing the FRP grating installation process leads to mistakes that take even longer to fix.
Conclusion
Installing FRP grating is a manageable task when you have the right tools, follow proper safety procedures, and understand the key techniques. Let us recap the essential steps for a successful FRP grating installation:
- Prepare thoroughly — gather all tools, inspect the grating, and prepare the support structure before starting
- Cut with care — use carbide-tipped blades, wear full PPE, and deburr all cut edges
- Support properly — ensure a minimum 25 mm bearing surface and level support at all panel edges
- Secure correctly — use stainless steel fasteners with washers on both sides, and never over-tighten
- Allow for expansion — leave 3–5 mm gaps between panels and at frame edges for thermal movement
- Inspect finished work — walk all installed surfaces to verify stability and security
Whether you are performing a fiberglass grating installation on a steel frame for an industrial platform, building a frp grating walkway around a chemical processing area, or installing drainage covers, the principles in this guide apply universally. FRP grating offers exceptional durability and corrosion resistance, and proper installation ensures you will enjoy those benefits for decades.
If you have questions about specific FRP grating installation requirements for your project, consult the manufacturer installation manual or contact a professional installer with experience in fiberglass grating systems.